Table of content
Jump testing is a common method to evaluate the readiness of a lot of athletes in a relatively short time, using tools to measure their performance. However, most hard- and software solutions fail in everyday training because either the test setup or the evaluation of the data takes too much time. Jump tests are certainly not the holy grail for an objective evaluation of an athlete’s performance state, but they can at least provide a reasonable tendency. In our opinion, the following questions should be asked when performing jumps:
How does my focus jump metric changes from session to session with a certain jump technique?
What conclusions can I draw from the metrics received?
Does my strength training have a positive effect on the performance of the lower body of my athletes?
How we can best answer these questions using an Enode Sensor will be discussed in this article.
Set up a jump testing environment
The test environment has to be kept relatively simple in order to ensure comparable results between the individual measurements. Reproducibility is vital in the performance diagnostic consideration of an entire team in everyday training.
This is best achieved by selecting a simple jump variant. The 3 most common variants are the Squat Jump (SJ), Countermovement Jump (CMJ) and Drop Jump (DJ). All 3 variants are easy to learn, safe to perform and easy to reproduce. The DJ should work with a constant starting height, which is between 30 – 50 cm above the floor. In order to further standardize the 3 jump variations, athletes should place their hands on their hips when performing the jump. This prevents the athletes from taking the momentum with their arms. Alternatively, all variants can also be performed with one leg. It should be noted that a separate exercise should be created for this in order to keep the recorded data clean.
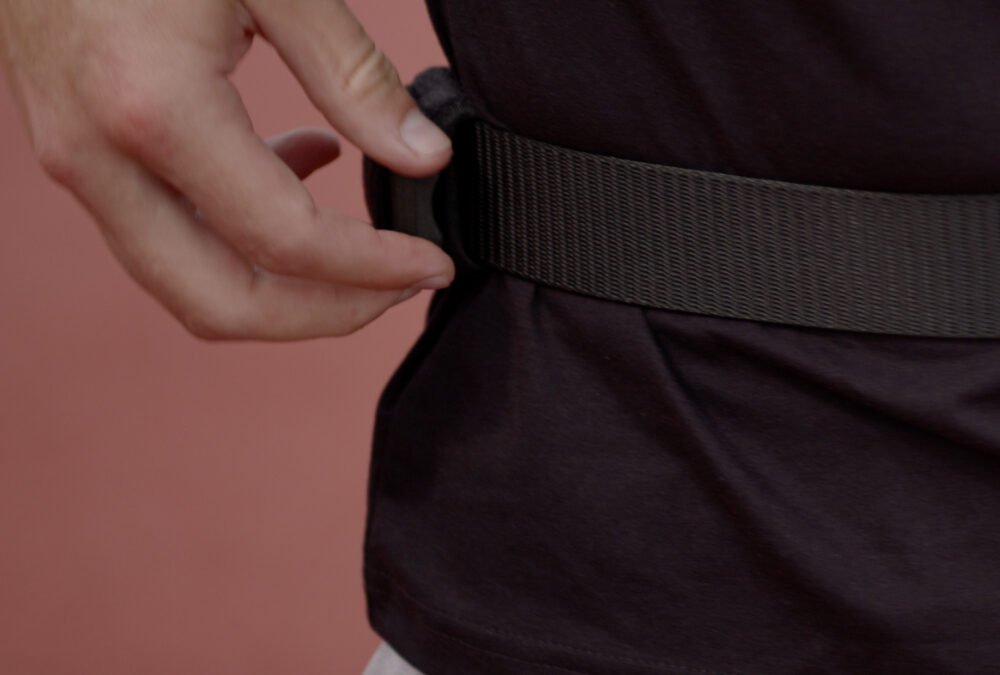
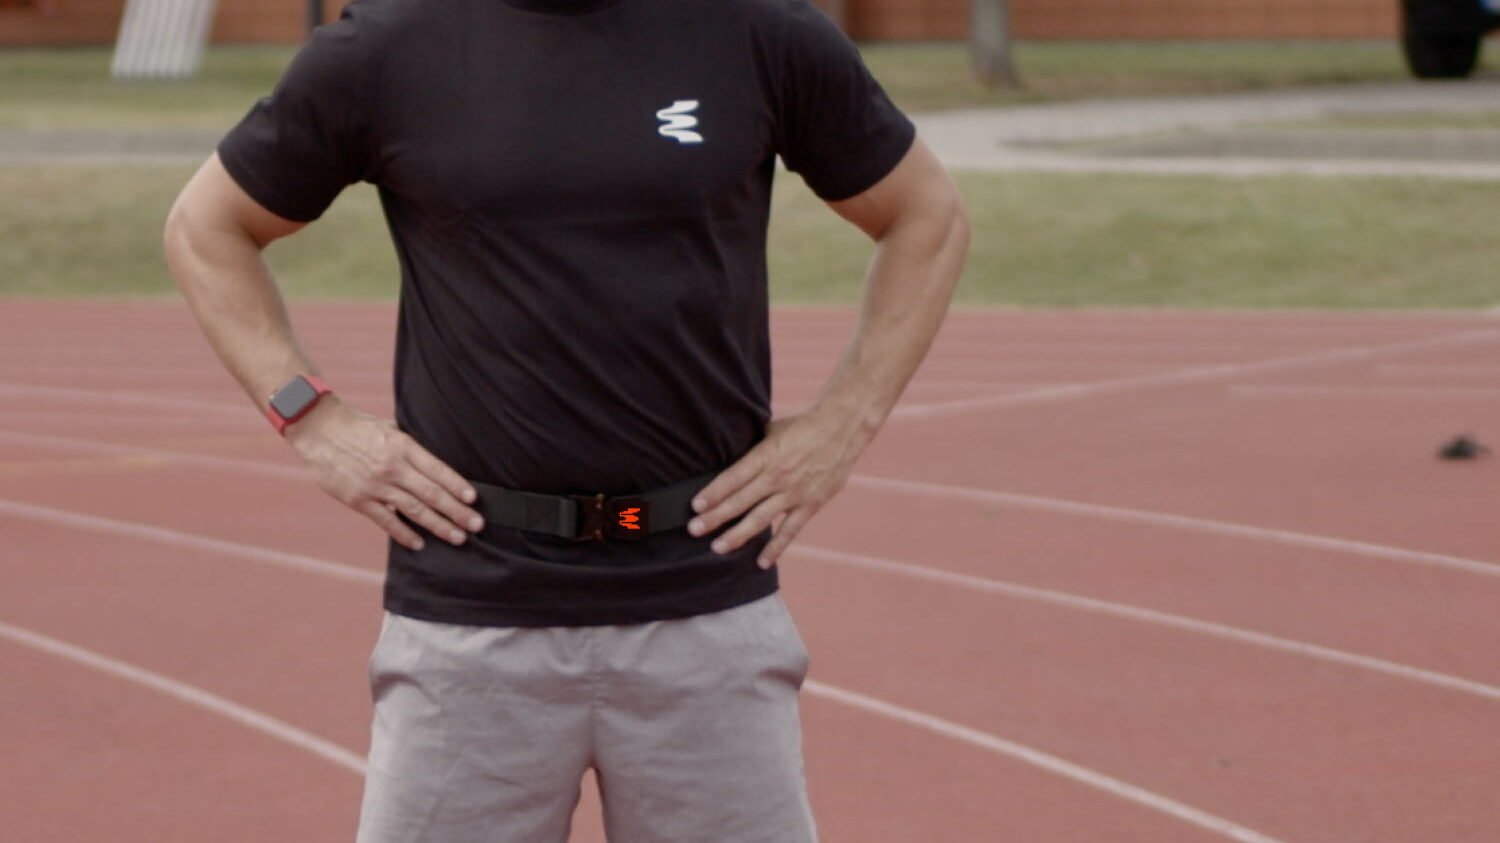
It is also important that the Enode Sensor is placed in such a way that comparability between individual measurements of one and several athletes can be ensured. In addition, it is necessary for reliable measurements to ensure that the sensor is attached close to the center of mass. In concrete terms, this means that the sensor should ideally be placed on the side above the hip. To ensure this, you can easily use any kind of strap with a quick release buckle. This guarantees a quick change between 2 athletes as well as the secure attachment of the sensor. For example, HR chest straps have proven to be very reliable. The barbell strap included with each sensor can then be used for variable positioning of the sensor on the belt. It is basically attached like on a barbell and can be moved along the belt as needed.
Conclusions on the training
If someone can jump high, it does not necessarily mean that he or she can automatically run fast or perform in strength training. But it can be a good indicator of a certain potential about an athlete’s ability compared to other athletes who cannot jump that high. In practice, it is usually not technology that is the problem with non-meaningful data, but the lack of willingness of athletes to perform 1-2 jumps with full intend. According to this, a coach should always create a stimulating test environment and explain what you want to achieve with the gained insights. For example, it can help the athlete to display the measured data during testing in order to set a competitive stimulus.
Assuming that almost identical conditions exist for each jump in every test is almost impossible. Therefore, a certain skepticism about what data is obtained can be very valuable. Every athlete in a team is always subject to individual stress normative. This may be due to different game times or the general willingness to work hard during training. It is therefore a bad idea to treat all players in a team equally. It is recommended to always look at the jump data on the level of the individual and thus to draw conclusions about the training. To simplify the daily training, a grouping of the team in e.g., positions on the field can be useful.
A practical example of application: If the jumping height decreases by 10% or more, the volume and training intensity should be reduced for at least one training session. For example, instead of performing 16 total sets with an average load of 80% 1RM, only 8 sets with an average load of 70% could be performed. This approach can also be thought of the other way around in case of a positive jump height development.
With reference to this approach, it should be noted that the Enode Pro app automatically performs the task of automatically adjusting loads based on daily readiness based on the existing velocity profile. Nevertheless, a jump test performed at the beginning of a training session can allow the trainer to quickly evaluate whether or not an athlete should do any training at all on a given day.
Long-term conclusions
A long-term consideration of an athlete’s jumping heights can then also provide information about the quality of strength training for the lower body. It is recommended to make these statements on the basis of an external evaluation. The Enode Pro app allows you to create individualized data exports, which can then be further processed and evaluated in Excel or other programs. This data can then be correlated with GPS data, for example. In certain sports, potential injury risk periods could possibly be identified and thus avoided.